Manual / Getting Started / First Time Register Setup & First Sale
First Time Register Setup & Processing Your First Sale
Follow this visual handbook to initiate your register terminal, scan catalog items, handle mixed cash & transfer tenders, and issue printed thermal receipts smoothly.
Launching the Register & Logging In
Open the Xpirax POS application on your desktop, iPad, or Android touch terminal. Select your store outlet branch from the drop-down selector and input your assigned cashier profile credentials.
Pro-Tip for Fast Shift Changes
Cashiers can use 4-digit fast PINs to switch shifts instantly without re-typing lengthy email passwords.
Adding Items to Cart via Barcode or Touch Grid
Add merchandise quickly using any of three flexible methods:
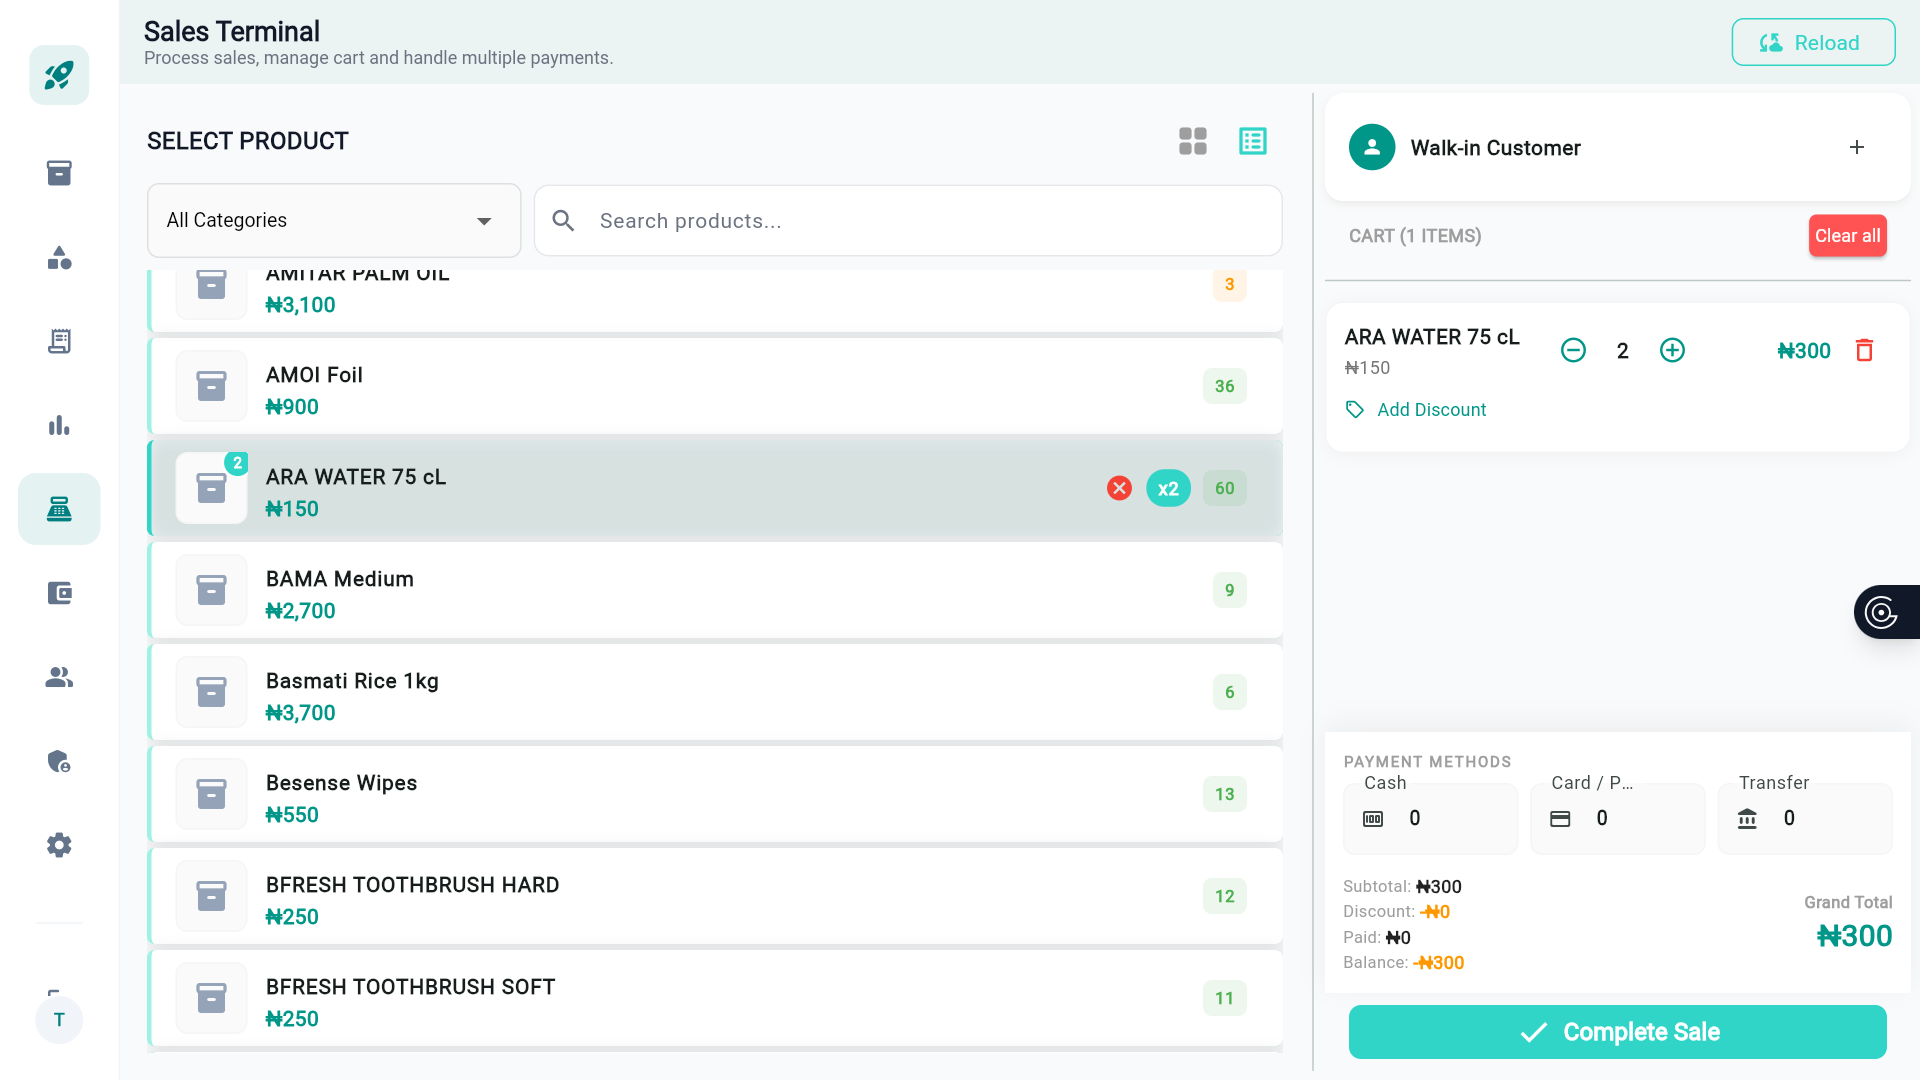
- 2D Barcode Scanner: Point the scanner at any product barcode sticker. The item auto-adds with a confirming beep.
- Product Category Tiles: Tap any tile on the grid to add items directly with default quantity 1.
- Live Search Bar: Press
Ctrl + Fto type SKU names or brand keywords with instant autocomplete.
Handling Multi-Tender & Split Payments
Customers often want to pay using multiple tenders (e.g., partial Cash and the remainder via Bank Transfer or Card/POS). Xpirax makes splitting payments effortless:
1. Cash Payment
Click Cash, enter amount handed over (e.g. ₦250). Change owed calculates automatically.
2. Card / POS Slip
Select Card/POS. Terminal prompts customer to tap/insert card and verifies approval code.
3. Bank Transfer
Select Transfer. Displays store account and verifies incoming transfer credit.
Sample Split Tender Calculation
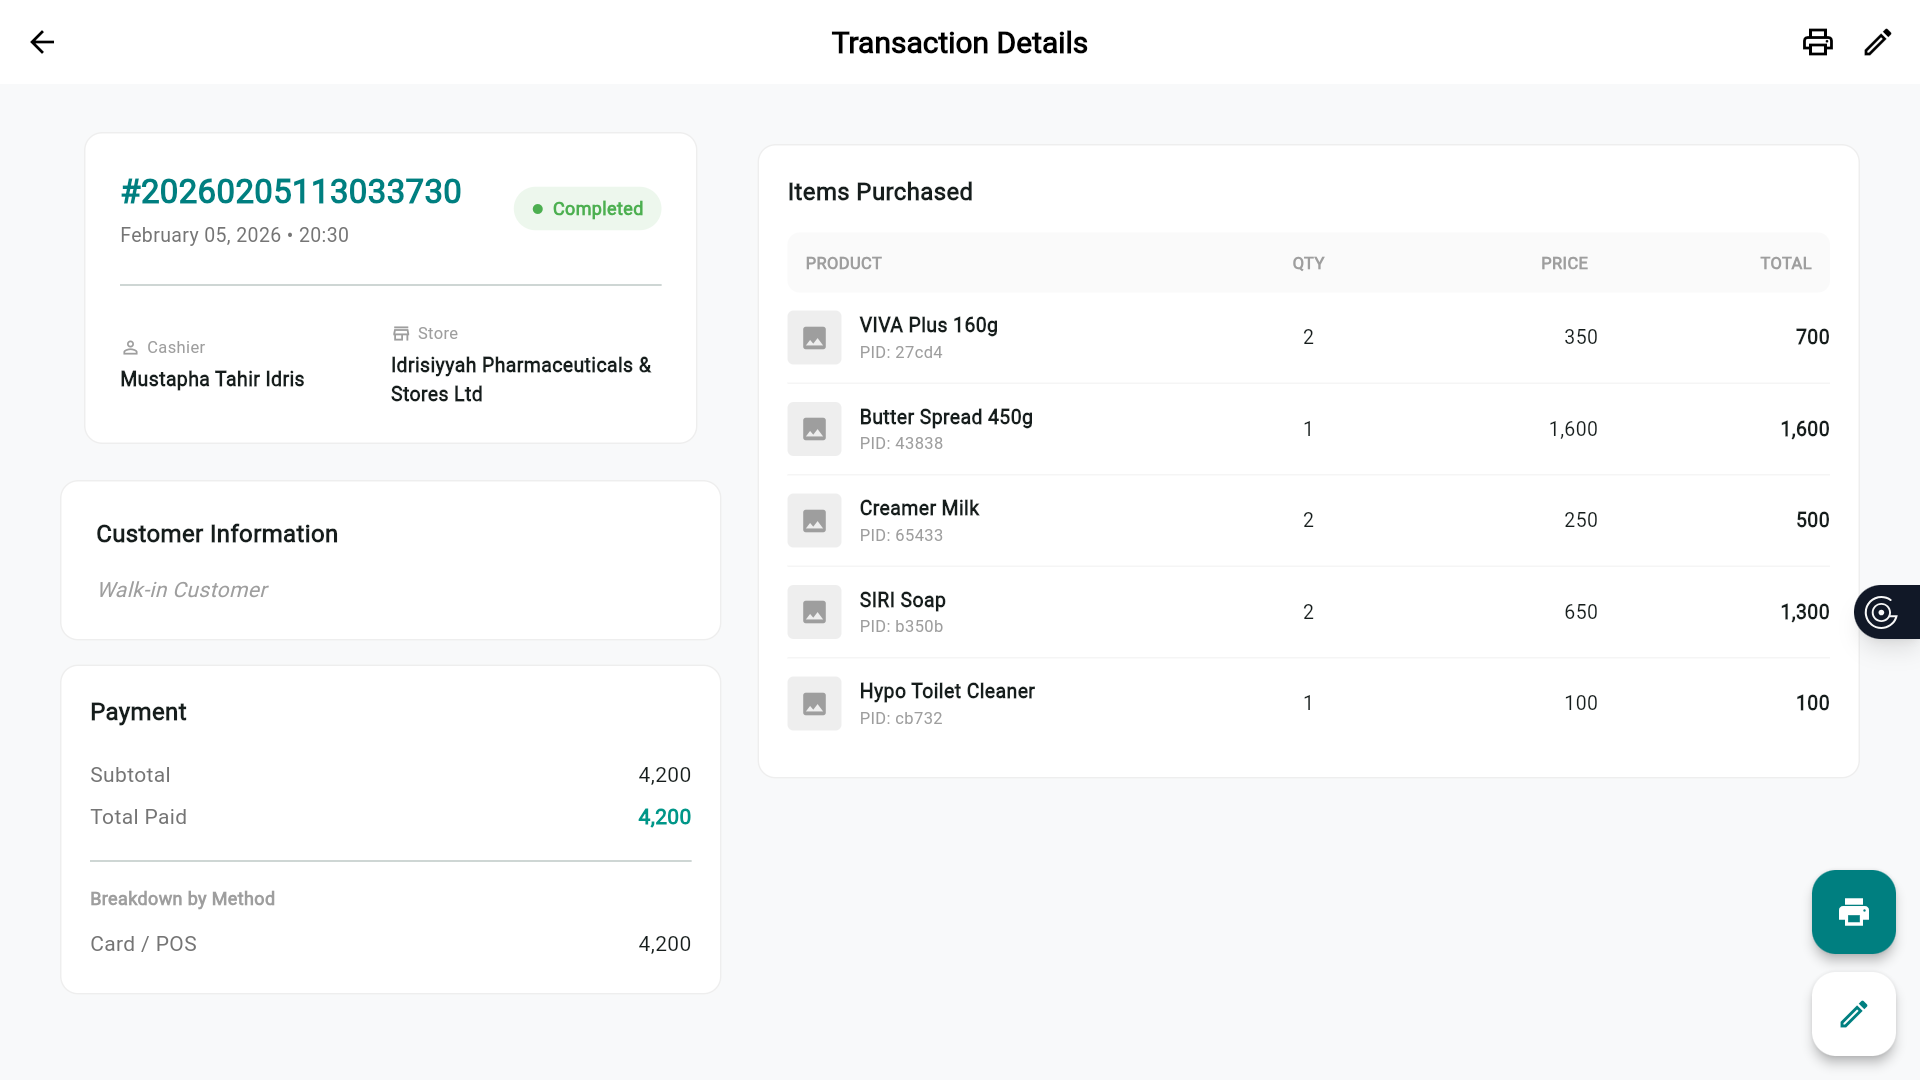
Printing Receipts & Kicking Cash Drawers
Click Complete Sale. The system instantly commits the transaction, triggers the cash drawer kick pulse, and formats a thermal receipt with merchant branding, customer details, and itemized VAT breakdown.